Mastering Wood Veneer Techniques at WoodVeneerHub for Stunning Projects
Understanding Wood Veneer Basics
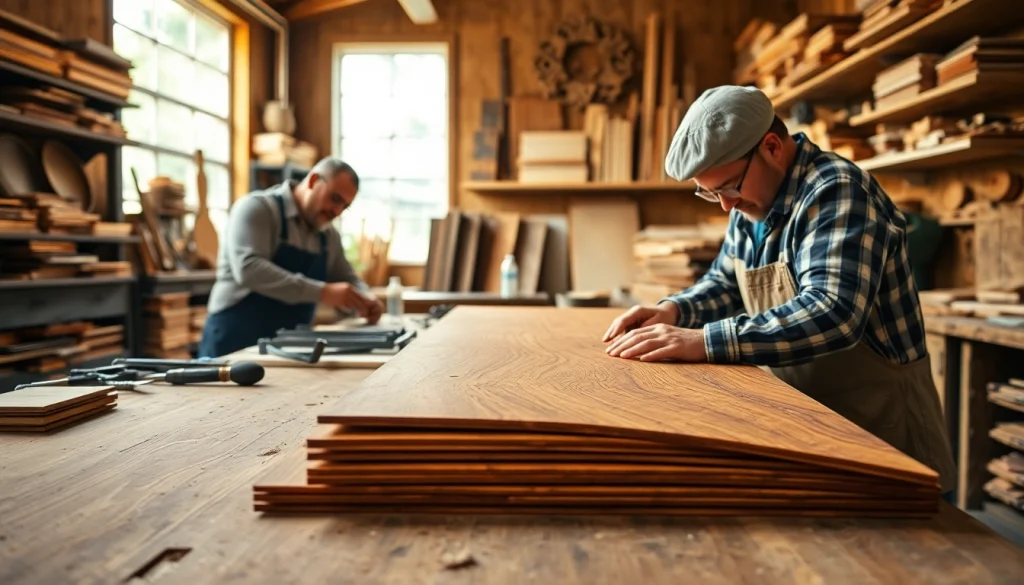
Wood veneer has carved a niche in the woodworking industry as a popular choice for both professional and amateur craftsmen. Its versatility allows crafters to achieve stunning appearances while using less material than would be required for solid wood. In exploring the world of wood veneer, resources like woodveneerhub provide excellent guidance. This article takes a deep dive into understanding wood veneer, its types, selection processes, application techniques, and innovative projects to inspire your next woodworking endeavor.
What is Wood Veneer?
Wood veneer consists of thin slices of wood, usually less than 3mm thick, that are glued onto core panels—such as wood, particleboard, or medium-density fiberboard—to produce flat panels. This technique allows the appearance of solid wood while conserving valuable resources. Each veneer layer captures the distinct characteristics of the tree species from which it is derived, boasting unique grains and patterns that can enhance aesthetics and elevate a project.
Types of Wood Veneers
Understanding the different types of wood veneers is essential for informed selection. Broadly, they can be classified into two categories: natural veneers and reconstituted veneers.
- Natural Veneers: Sliced from real timber, these veneers showcase the organic qualities of wood, including variations in grain and color. Species include oak, walnut, cherry, and mahogany.
- Reconstituted Veneers: Made from engineered wood fibers, these veneers replicate the appearance of natural wood grains. They offer a uniform look and can be produced in a more sustainable manner.
Advantages of Using Wood Veneer
The advantages of wood veneer make it an appealing choice for many projects. Here are some critical benefits:
- Cost-Effective: Veneer can replicate the look of more expensive woods while using less material.
- Environmental Impact: Using veneers from sustainably sourced timber helps reduce deforestation.
- Design Flexibility: Available in countless patterns and colors, wood veneer can transform any element of design.
- Stability: When properly applied, veneer creates more stable surfaces than solid wood, as it’s less prone to warping.
Wood Veneer Selection Process
Choosing the Right Veneer for Your Project
Choosing the appropriate veneer aligns closely with the objectives of your project, its intended aesthetic, and functional needs. Consider the following factors:
- Project Type: The scale and purpose determine whether you should select thicker or thinner veneers.
- Visual Appeal: Select wood types that harmonize with your project’s theme. Livelier grains might work for statement pieces, while understated varieties could suit professional settings.
- Finish Compatibility: Not all finishes work equally with every wood type; ensure compatibility to achieve the desired final look.
Assessing Quality in Veneer Products
Quality is vital when selecting wood veneer. Here are some indicators of high-quality veneer:
- Thickness: A thicker veneer generally offers better durability and a more significant design impact.
- Uniform Grain Patterns: Look for consistency in coloration and grain. Quality veneers should display the same characteristics across the sheet.
- Moisture Content: Veneers should ideally have low moisture content to reduce the risk of warping during application.
Color and Grain Variations to Consider
Grain and color variations are hallmarks of natural veneers. Familiarize yourself with how different cuts influence appearance:
- Quarter Sawn: This cutting method produces straight grain patterns, ideal for modern aesthetics.
- Flat Sawn: This method offers a variety of grain patterns, often more pronounced and lively.
- Rift Cut: Used mainly for oak, this cut results in a linear grain that reduces the flecking common to quarter-sawn surfaces.
Techniques for Cutting and Applying Veneer
Essential Tools for Veneer Application
Having the right tools for cutting and applying veneer is crucial for achieving professional results. Key tools include:
- Veneer Saw: A specialized saw designed for making precise cuts on veneer.
- Clamps: For ensuring firm adhesion during application.
- Trimmer or Router: For edges, these tools help to achieve clean results.
- Adhesive: Selecting the right adhesive is essential for effective bonding.
Step-by-Step Guide to Cutting Veneer
Follow these steps for optimal cutting results:
- Measure the area where the veneer will be applied.
- Mark the dimensions carefully on the veneer sheet.
- Use a straightedge and veneer saw to ensure precision while cutting along the marked line.
- Sand the edges lightly to remove splinters.
Applying Veneer with Precision and Care
Properly applying veneer enhances the overall finish of your project. The following steps will assist in achieving a seamless application:
- Clean the surface where the veneer will be applied.
- Evenly spread the adhesive on the substrate and the veneer.
- Position the veneer and use clamps to hold it in place, ensuring even pressure.
- Allow the adhesive to cure as per the manufacturer’s recommendations before proceeding with further finishing.
Common Challenges in Working with Wood Veneer
Dealing with Warping and Cracking
Warping and cracking can hinder your project’s aesthetics and integrity. To mitigate these issues:
- Store veneers in a stable, humidity-controlled environment prior to use.
- Ensure that your substrate is flat and stable.
Understanding Adhesive Choices
The choice of adhesive is paramount in veneer application. Options include:
- PVA (Polyvinyl Acetate): Best for indoor applications with a flexible bond.
- Contact Cement: Offers immediate tack and strong adhesion, but less flexibility.
Preventing Veneer Lifting and Damage
To prevent veneer lifting:
- Use adequate pressure during application to promote complete adhesion.
- Avoid exposure to excessive heat or moisture post-application, which can lead to lifting.
Innovative Wood Veneer Projects and Ideas
Creating Unique Home Décor with Veneer
Wood veneer can be utilized creatively in various home décor projects, from accent walls to intricate art pieces. Try crafting a mosaic wall art piece using assorted veneer scraps or create unique picture frames combining different wood grains for a striking statement.
Veneer in Furniture Design: Tips and Tricks
Furniture design benefits immensely from the use of veneer. Consider these tips:
- Entwine different grain patterns for a visually appealing effect.
- Incorporate veneered surfaces for tables or cabinets that harmonize with your existing décor.
Advanced Techniques for Custom Veneer Projects
For advanced users, techniques like veneering curved surfaces or layering veneers to create unique patterns can yield breathtaking results. Experiment with different finishing techniques, combining stains and oils to highlight the natural beauty of the wood.
Frequently Asked Questions about Wood Veneer
What is the difference between veneer and laminate?
Veneer is a thin layer of real wood, while laminate is a synthetic product made to look like wood. Veneer offers a natural aesthetic, while laminate is often more durable and cost-effective.
Can I use veneer outdoors?
Most veneers are intended for indoor use due to their susceptibility to moisture. However, some specially treated veneers can withstand outdoor conditions.
Is it possible to refinish veneered furniture?
Yes, you can refinish veneered furniture, but it requires caution. Light sanding followed by staining or sealing can rejuvenate its appearance without damaging the veneer.
What types of finishes work best with wood veneer?
Oil finishes, polyurethane, and water-based finishes work well with wood veneers. Choose a finish that enhances natural colors while providing adequate protection.
How do I maintain and clean wood veneer surfaces?
To maintain veneer surfaces, wipe them down with a damp cloth. Avoid harsh chemicals that could damage the finish, and consider using a wood cleaner specifically designed for furniture.